Table of Contents
About Campus Cloud
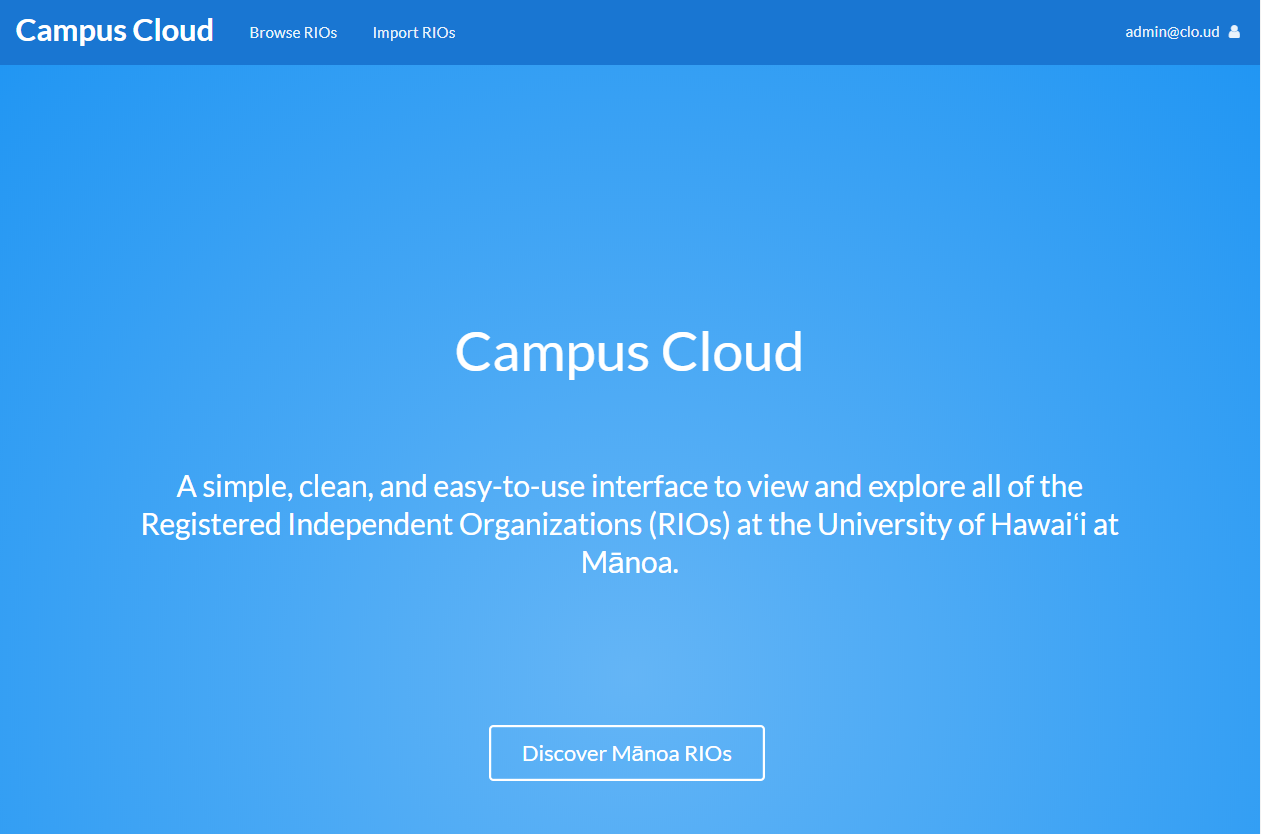
Campus Cloud is an application that provides a clean, easy-to-use interface to view and explore all of the Registered Independent Organizations (RIOs) at UH Mānoa. Users can explore the RIO list and view details about specific clubs. Users are allowed to sign up, and add interests to their profile. This allows the system to email the user to notify them when a club is created that matches any of their interests. Admins are able to create clubs and assign an owner to them. Then, the club owner can edit the club details. With our application, we’re hoping to allow ease of access to view all of the clubs at UH and make it even easier to find the clubs that may interest you.
Live Deployment
You can view a live deployment of this project here
Mockups
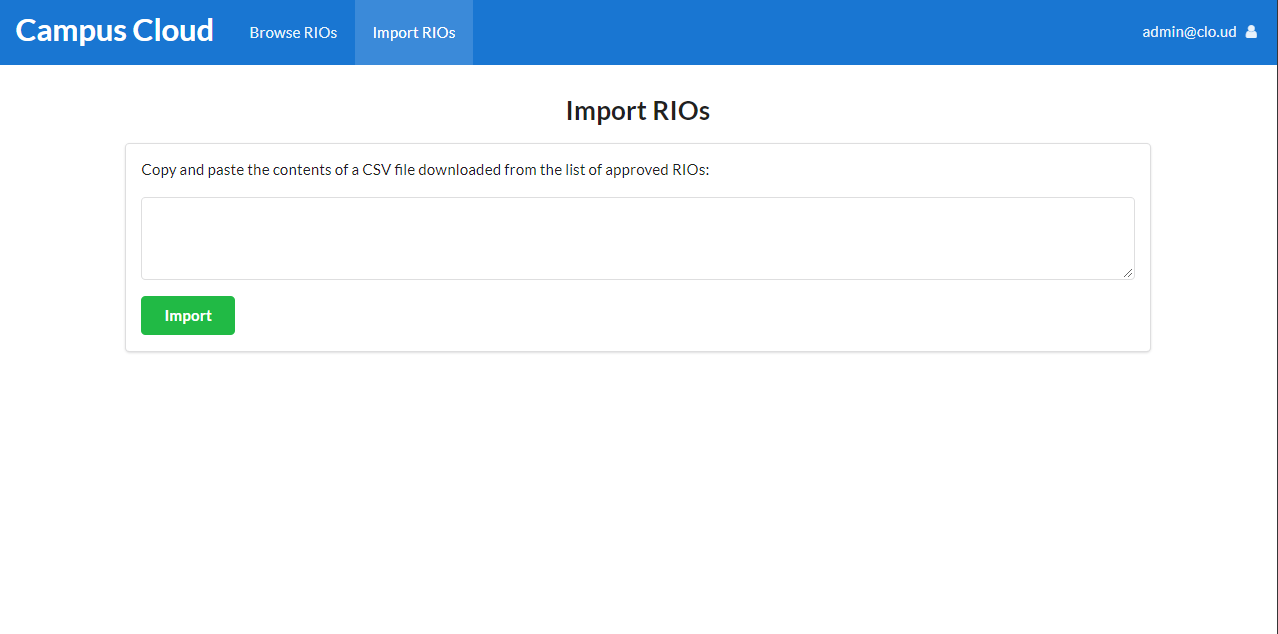
We have made new addition for our admin role.
A new tab to import RIOs
The import RIOs page.
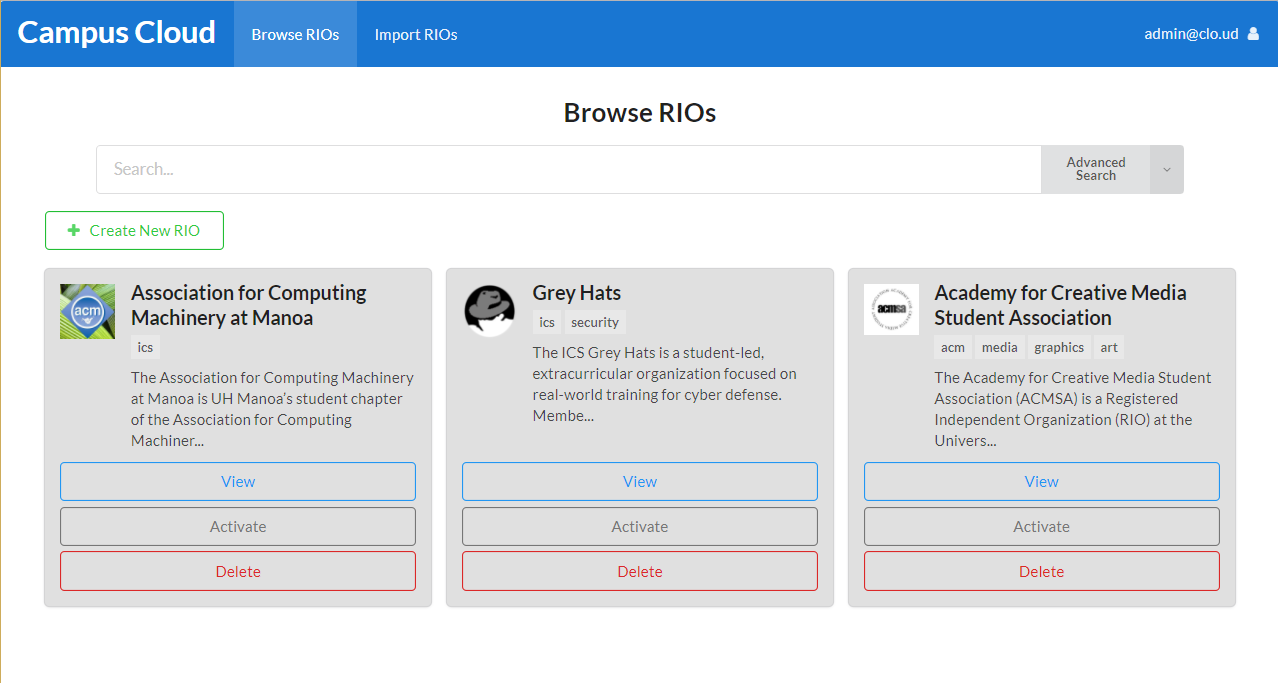
We made changes to the browse page with a new search feature for users. Admins can now delete, activate (visible to users), and deactivate (invisible to users) clubs.
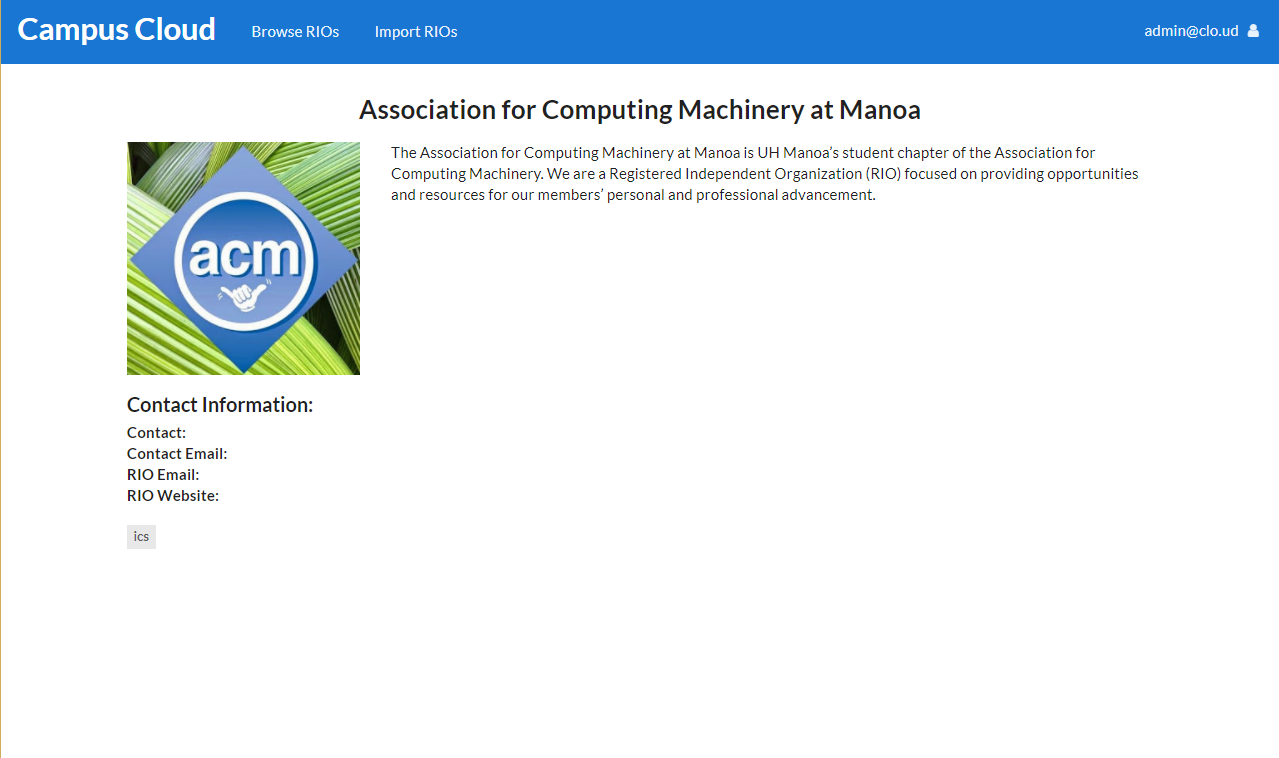
Clubs are also now viewable.
History
The initial versions of the pages were based off of these diagrams, and are shown below.

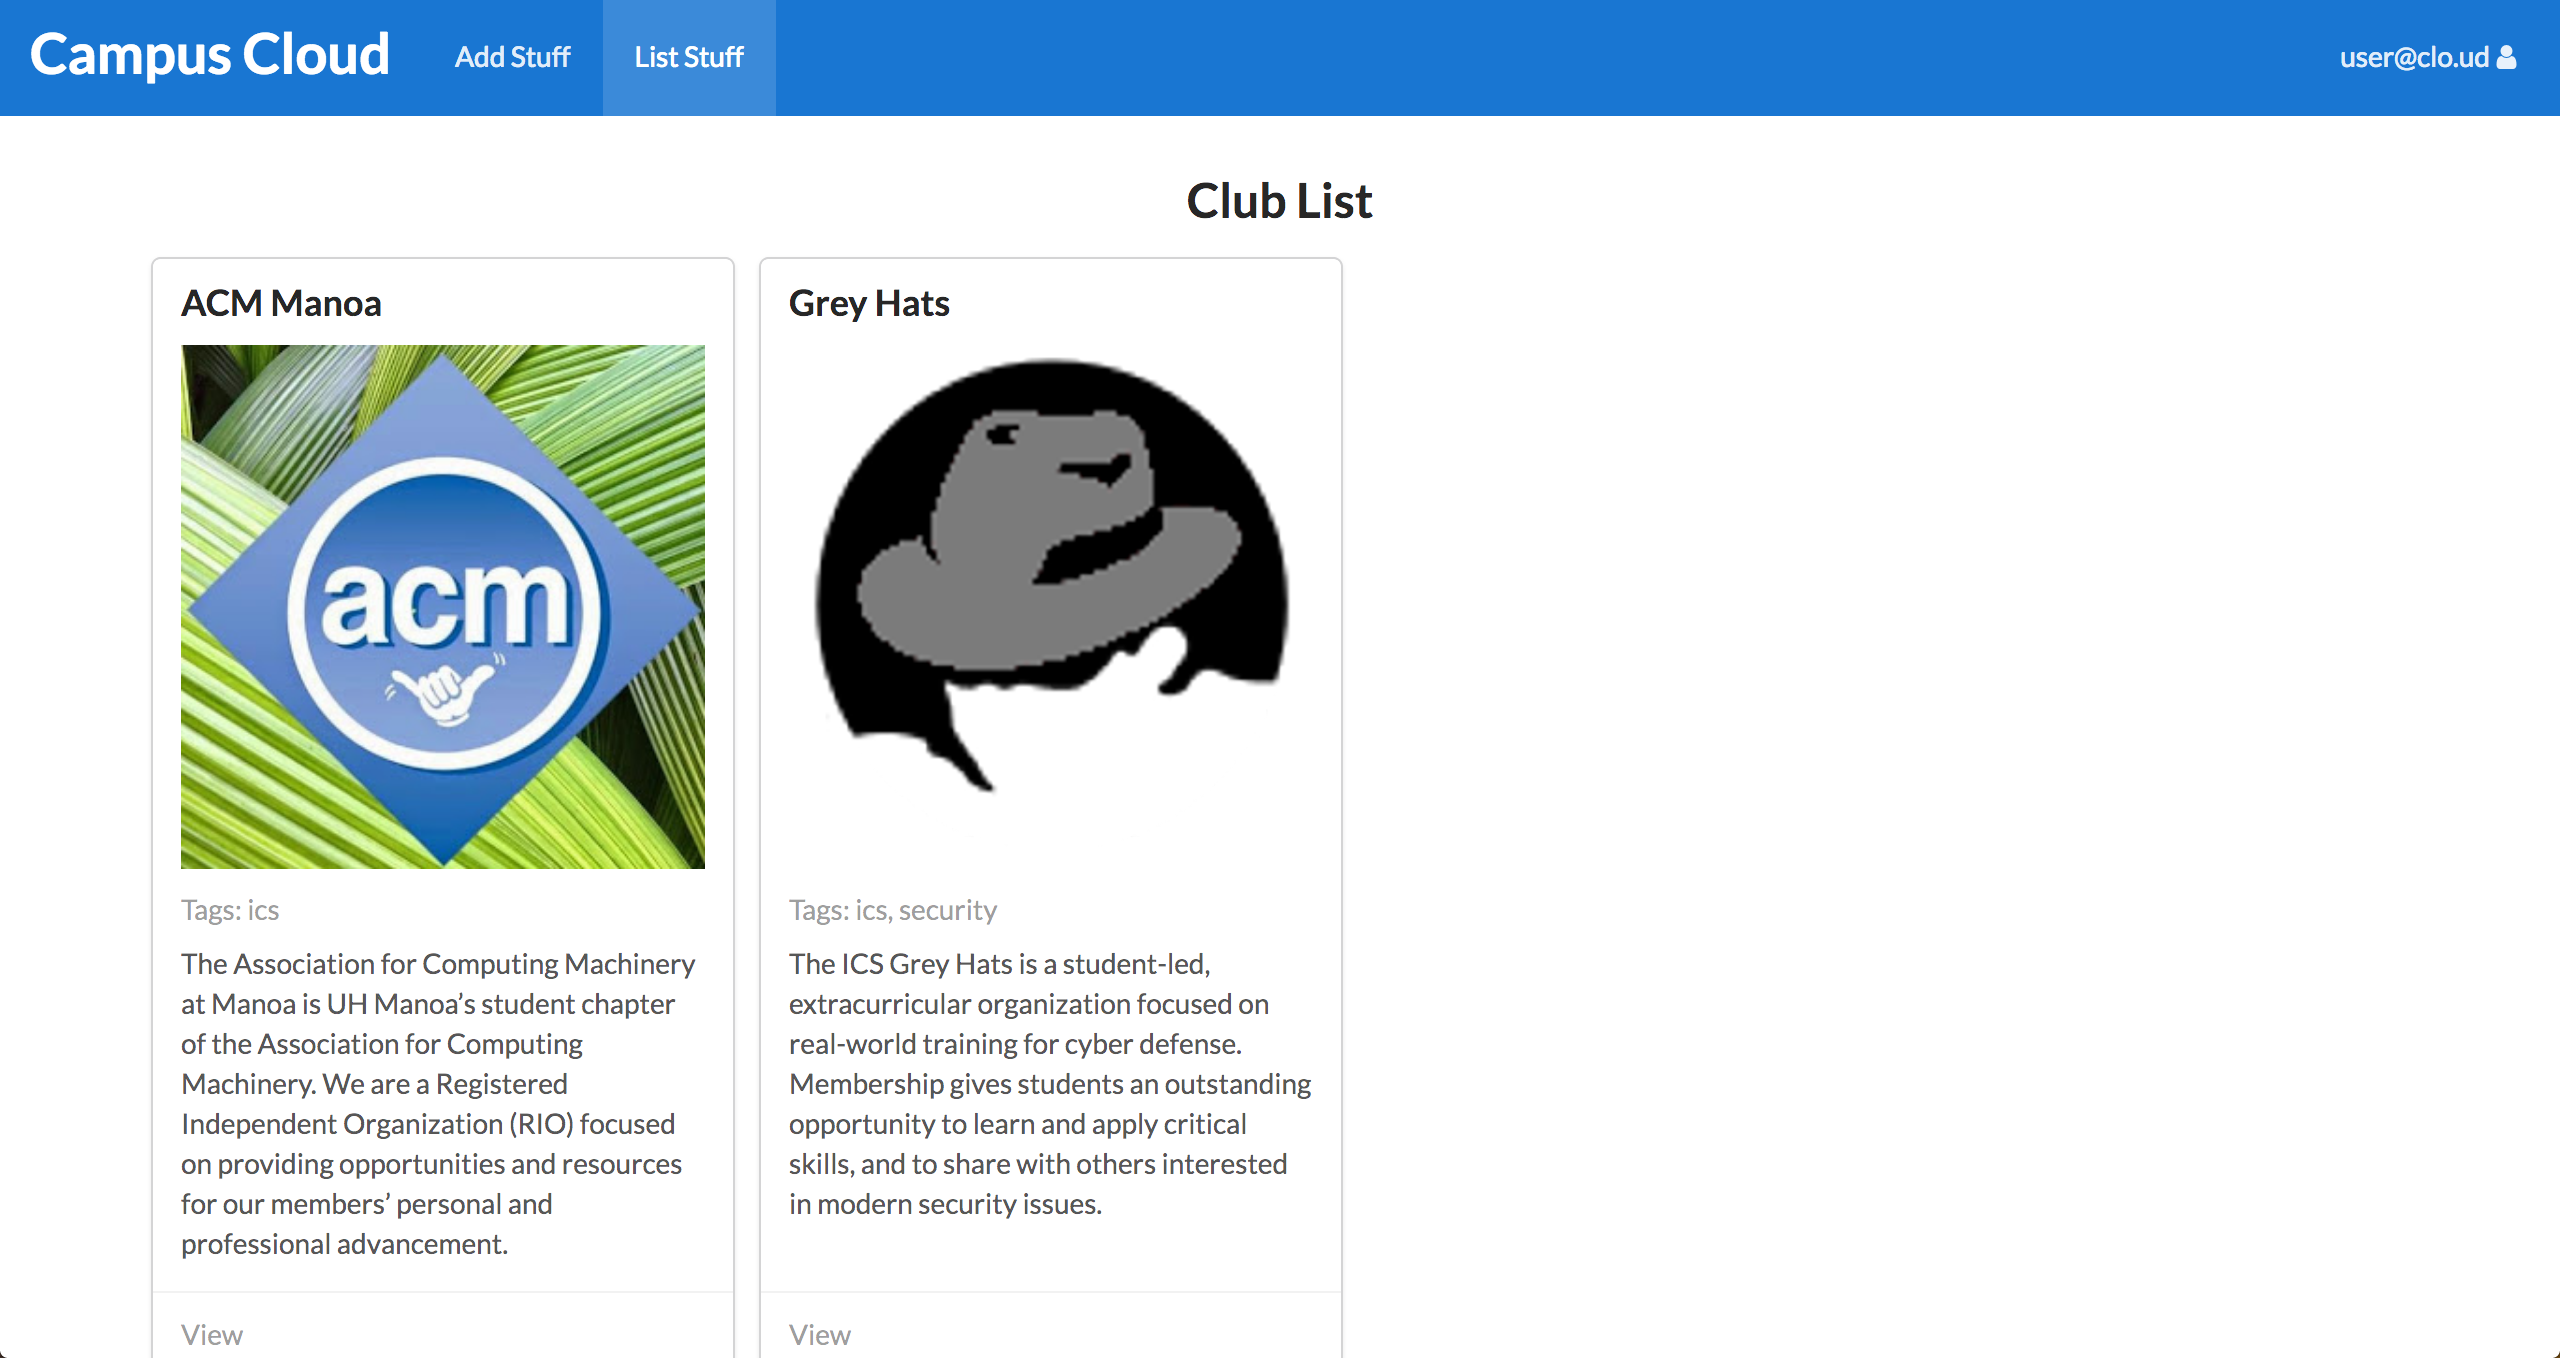
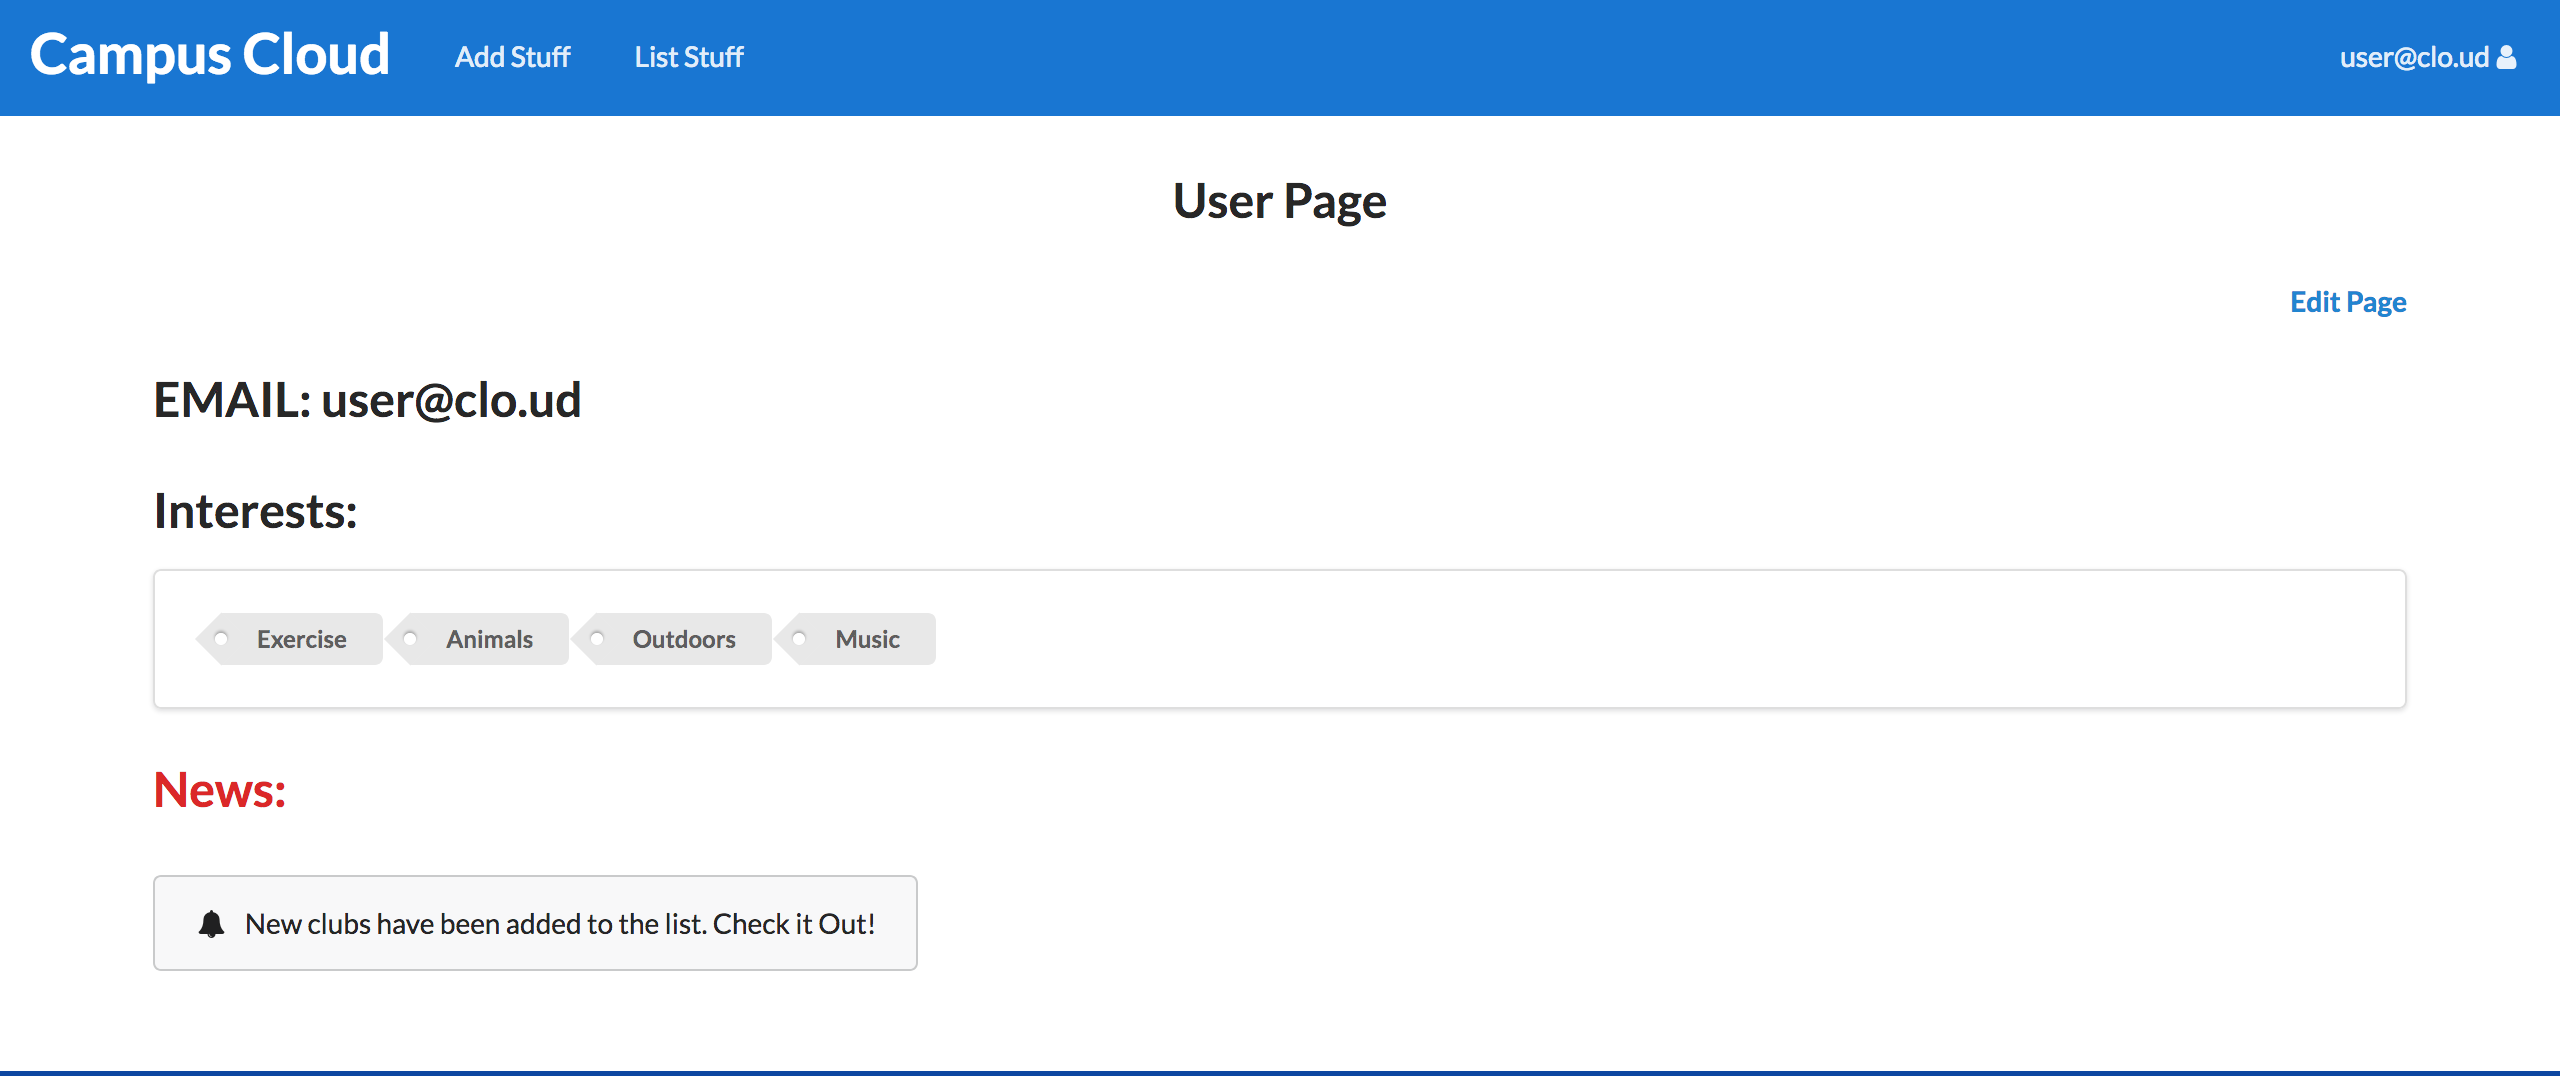
We created rough mockups of various pages in order to conceptually define what we wanted on each page.
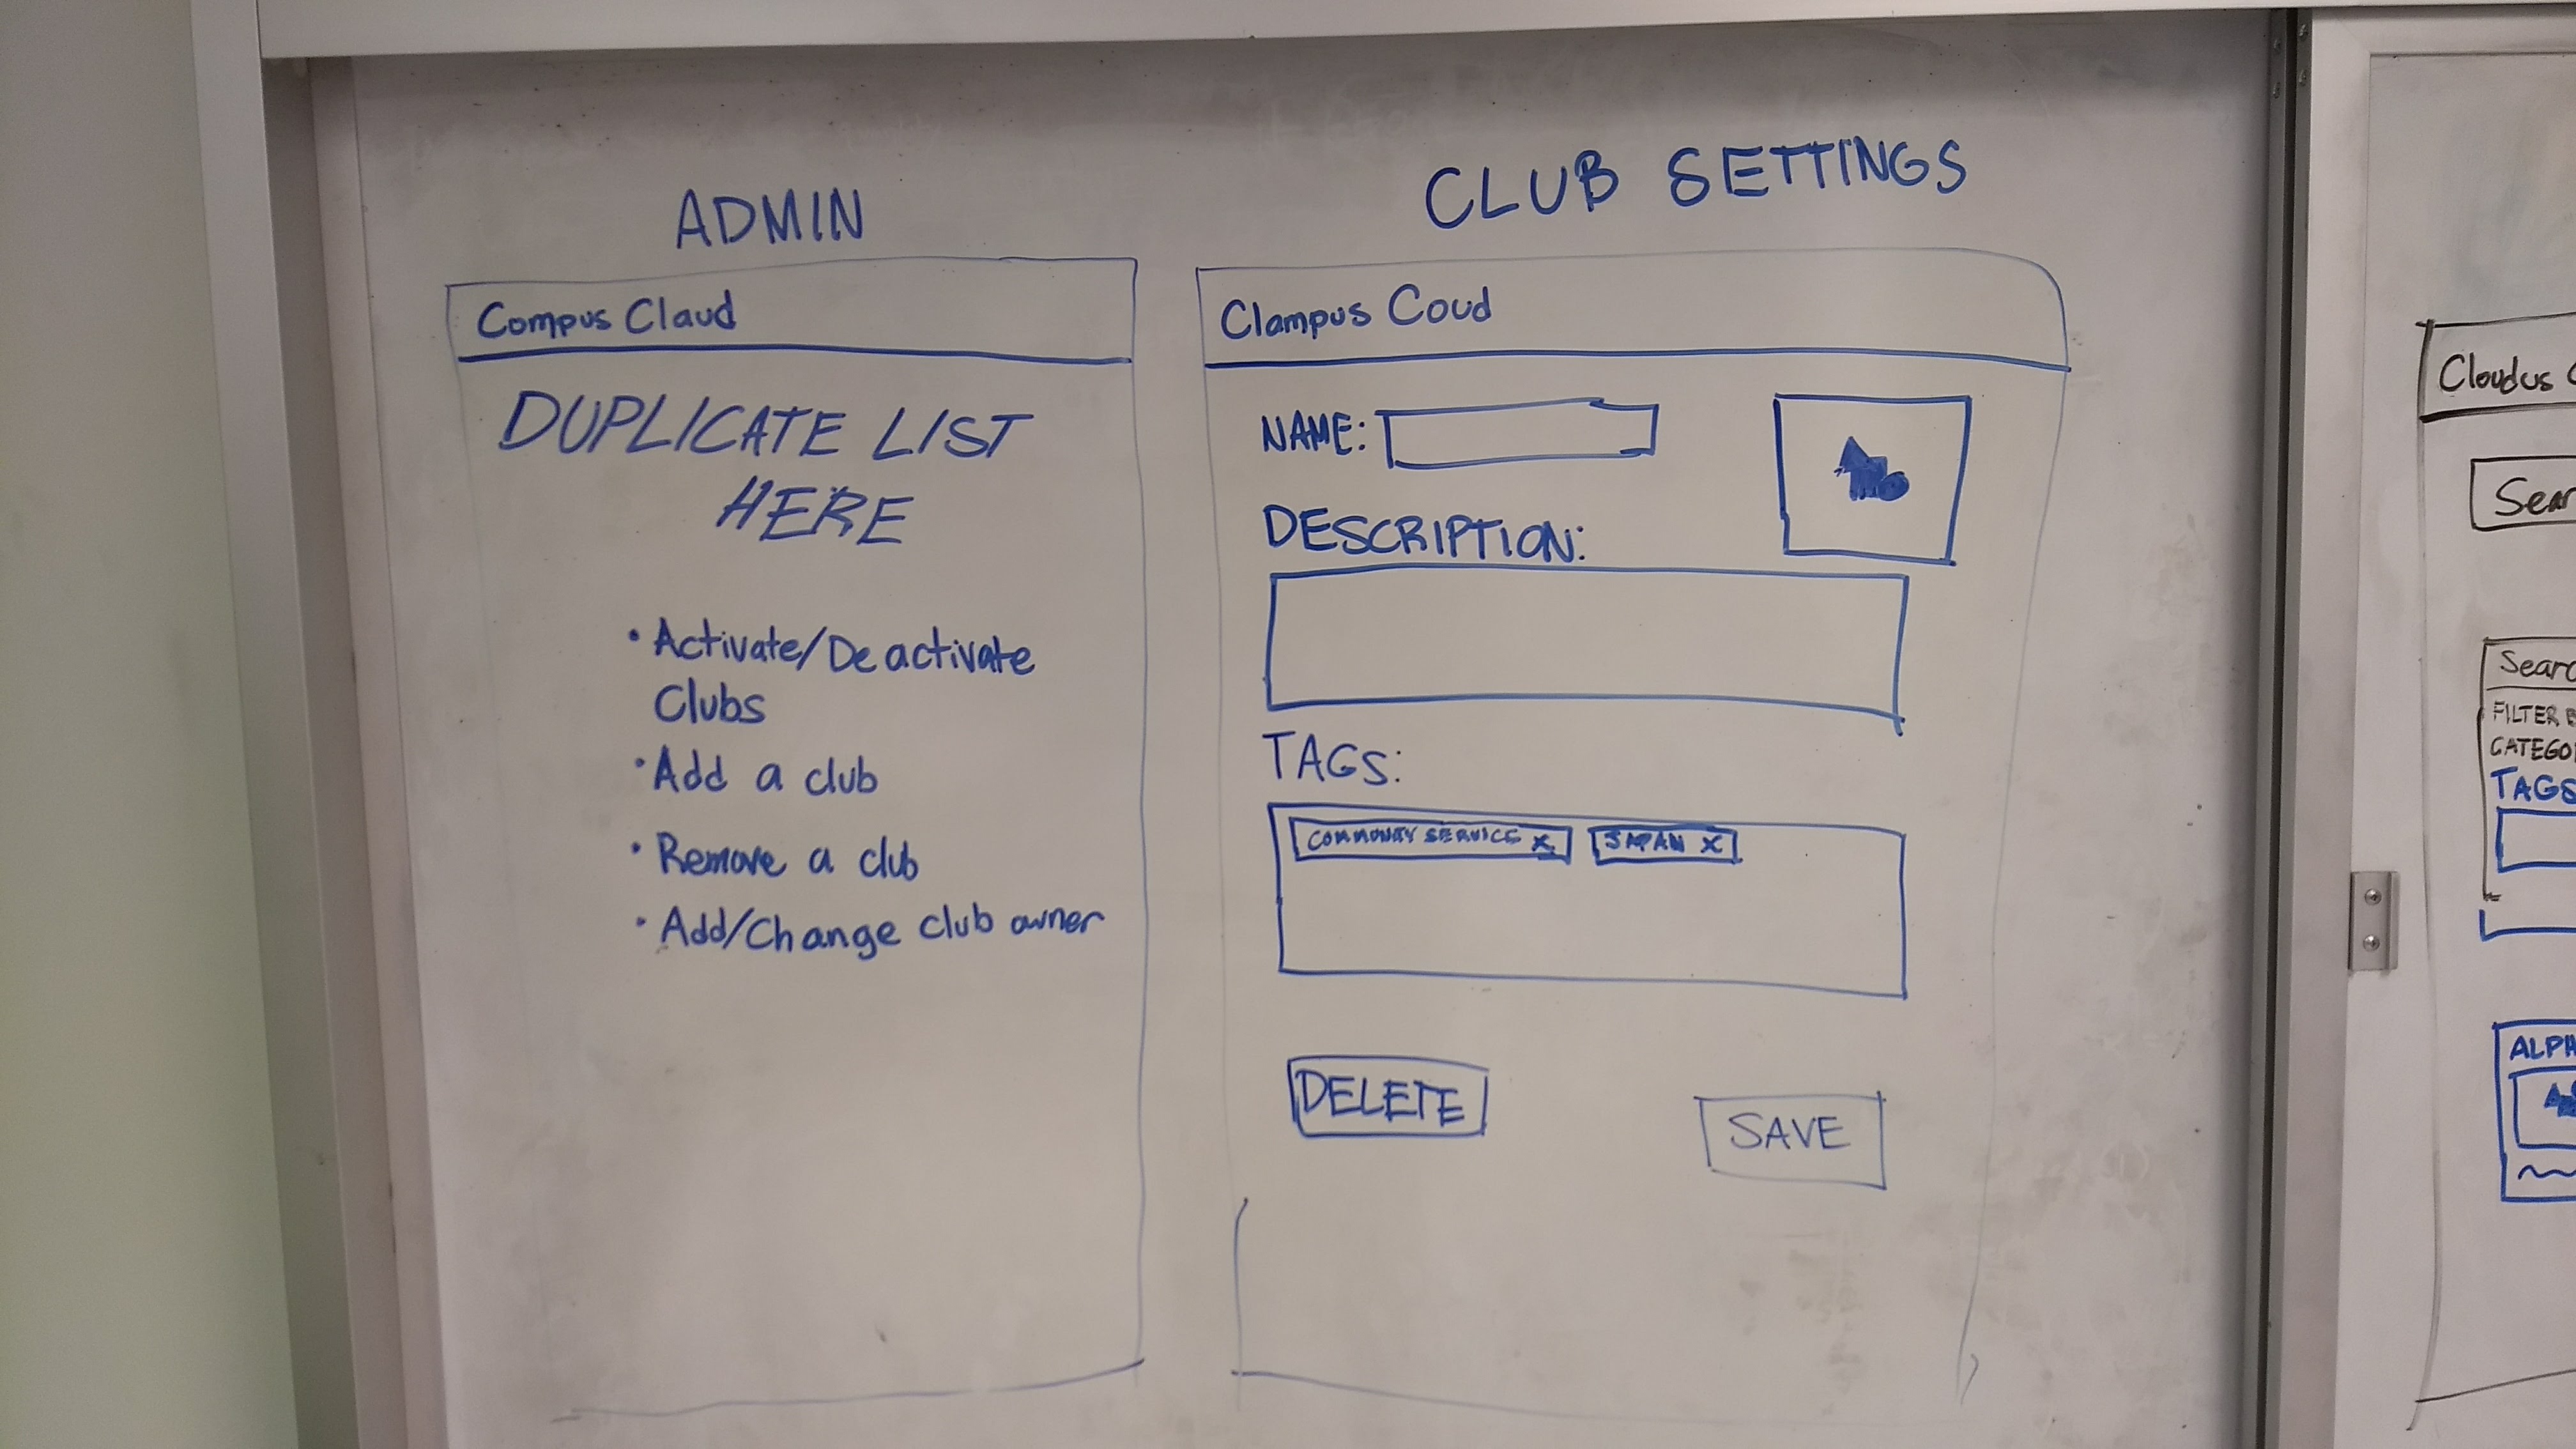
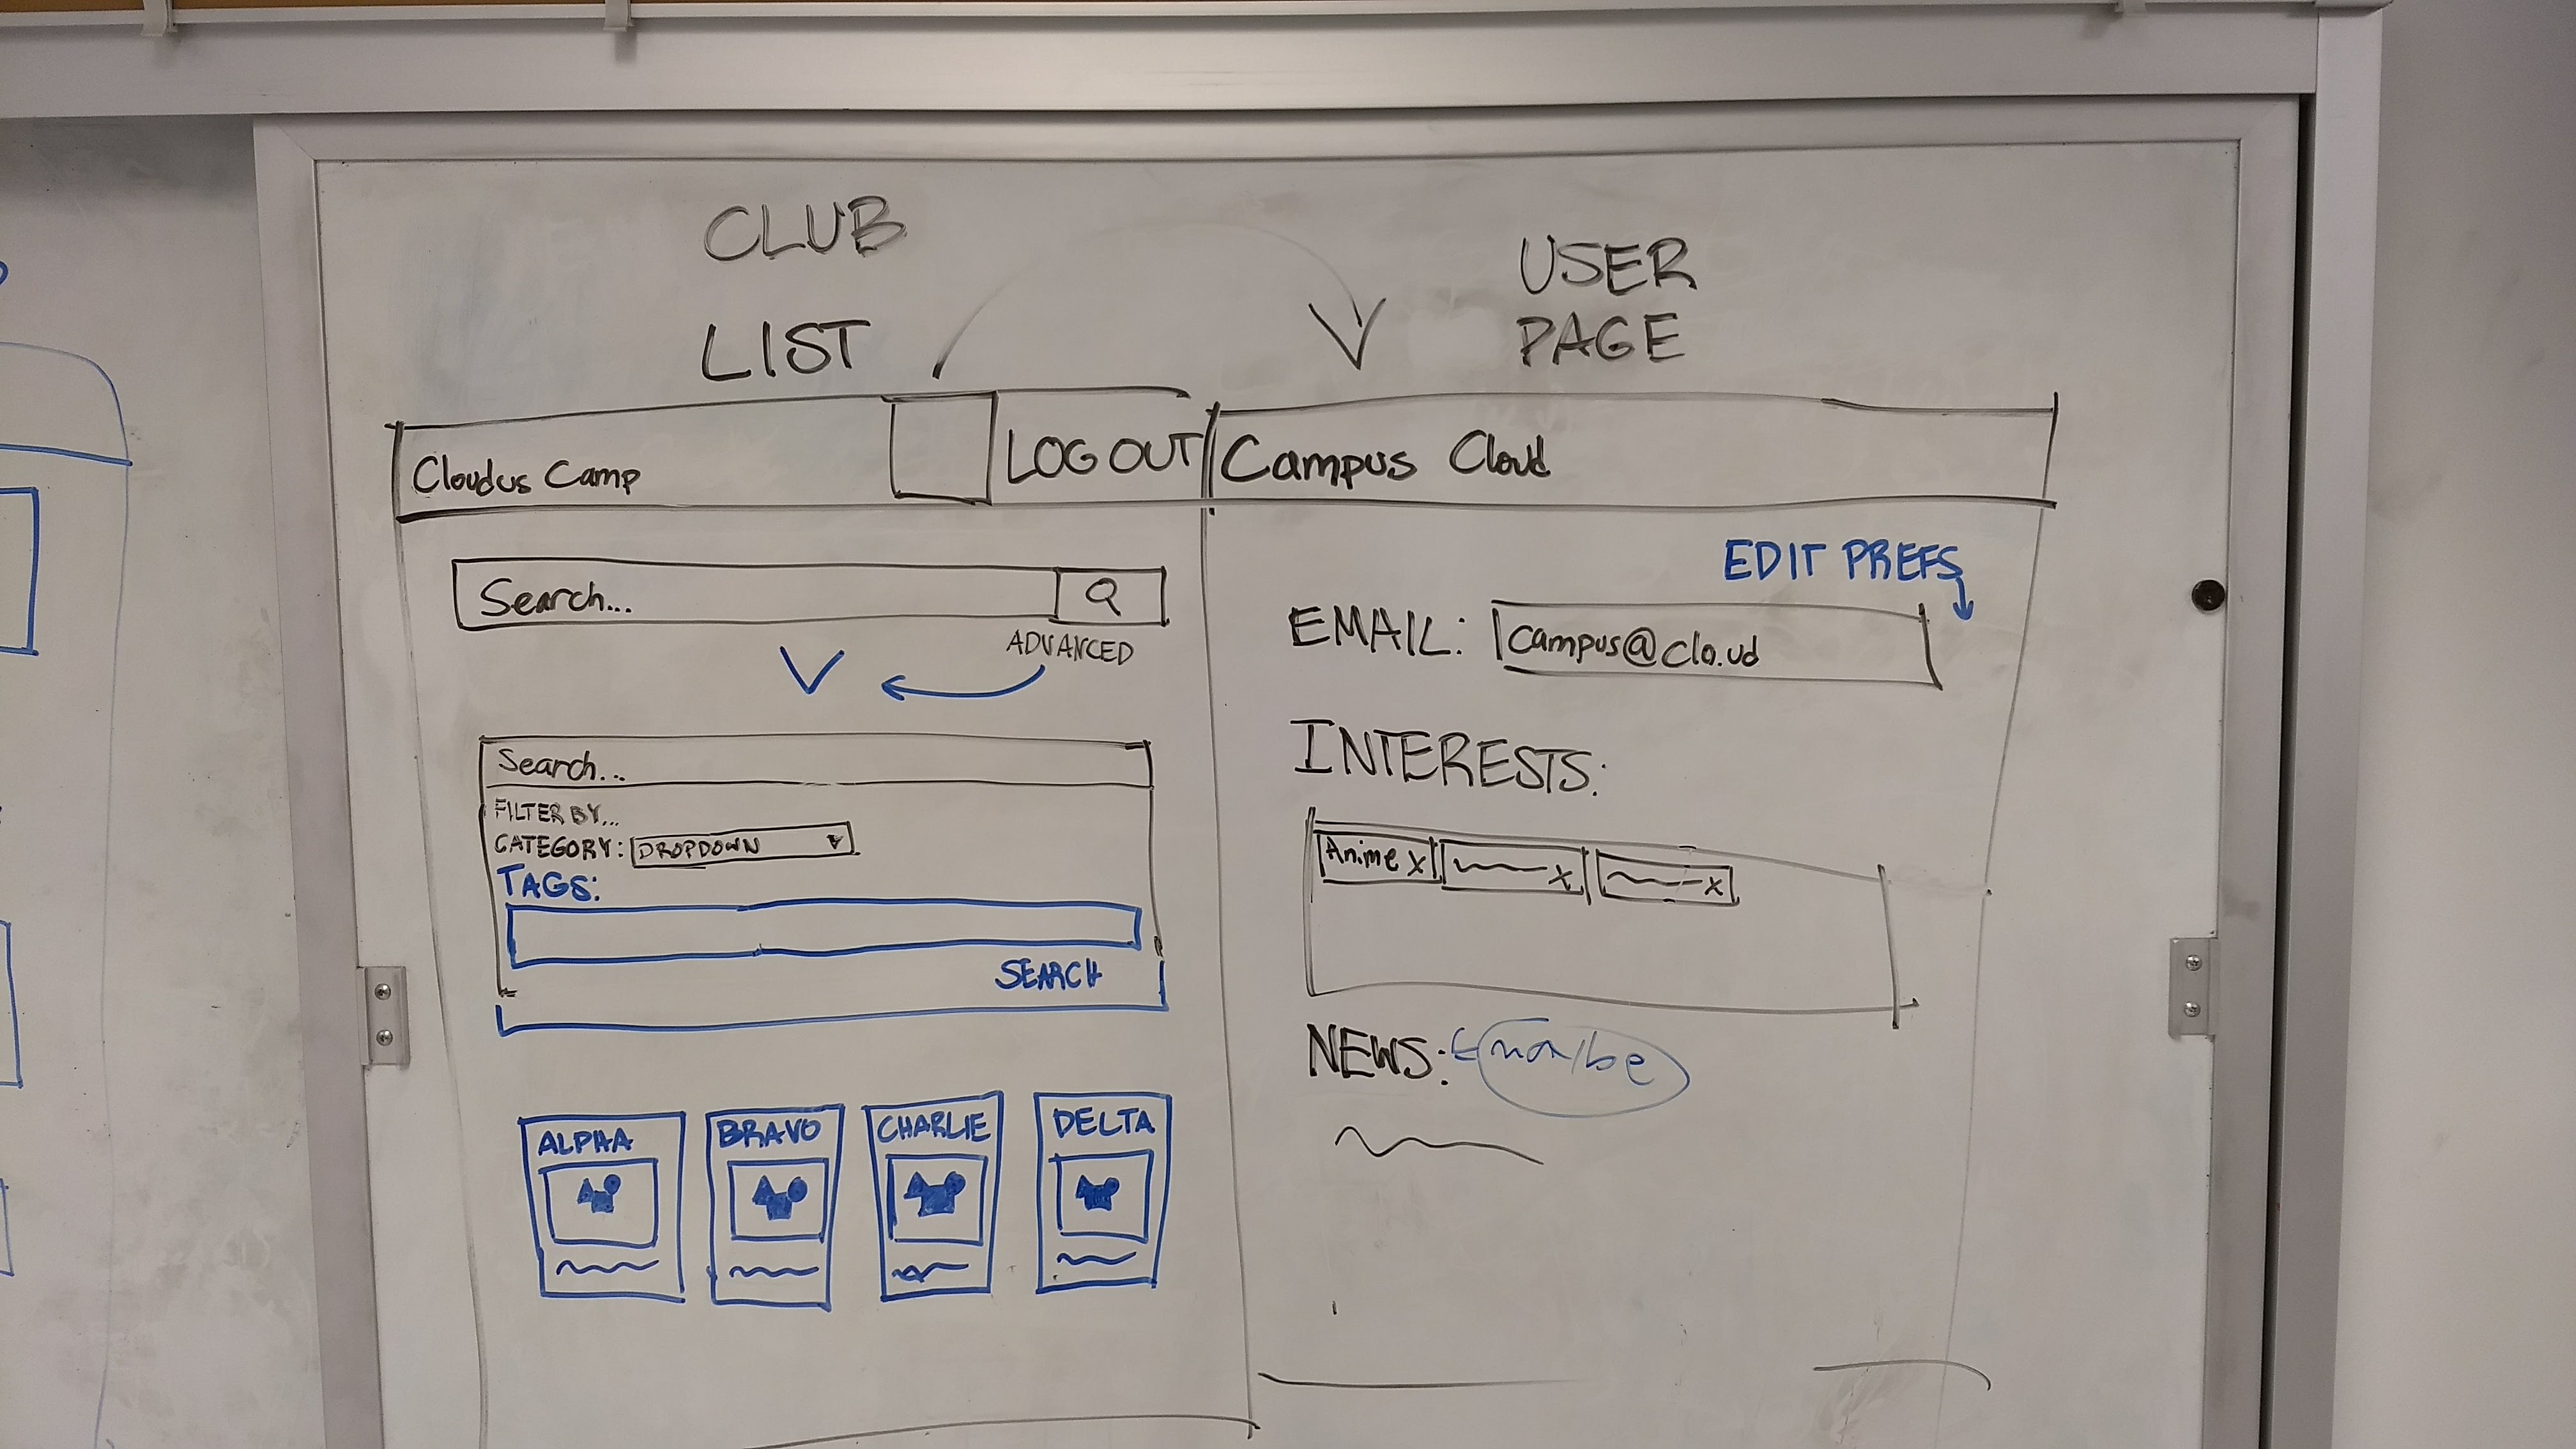
User Study
“The search feature is really cool.” -UH student
“This makes finding clubs way easier than whatever we had before.” -UH student
“It seems like the club admins don’t get a lot of power.” -UH student
“The tags make for a cool way to sort clubs. Although, how do the tags get updated for all the clubs?” -UH student
“I think the view club page seems a little bland.” -UH student
Development
If you want to run our application then you’re going to have to…
-
Download meteor
-
Go to our Github page and download our project
-
Find the location of the project and cd into the app directory
-
Start by installing the libraries using the command: $ meteor npm install
-
Finally, you can run our program by entering the command: $ meteor npm run start
